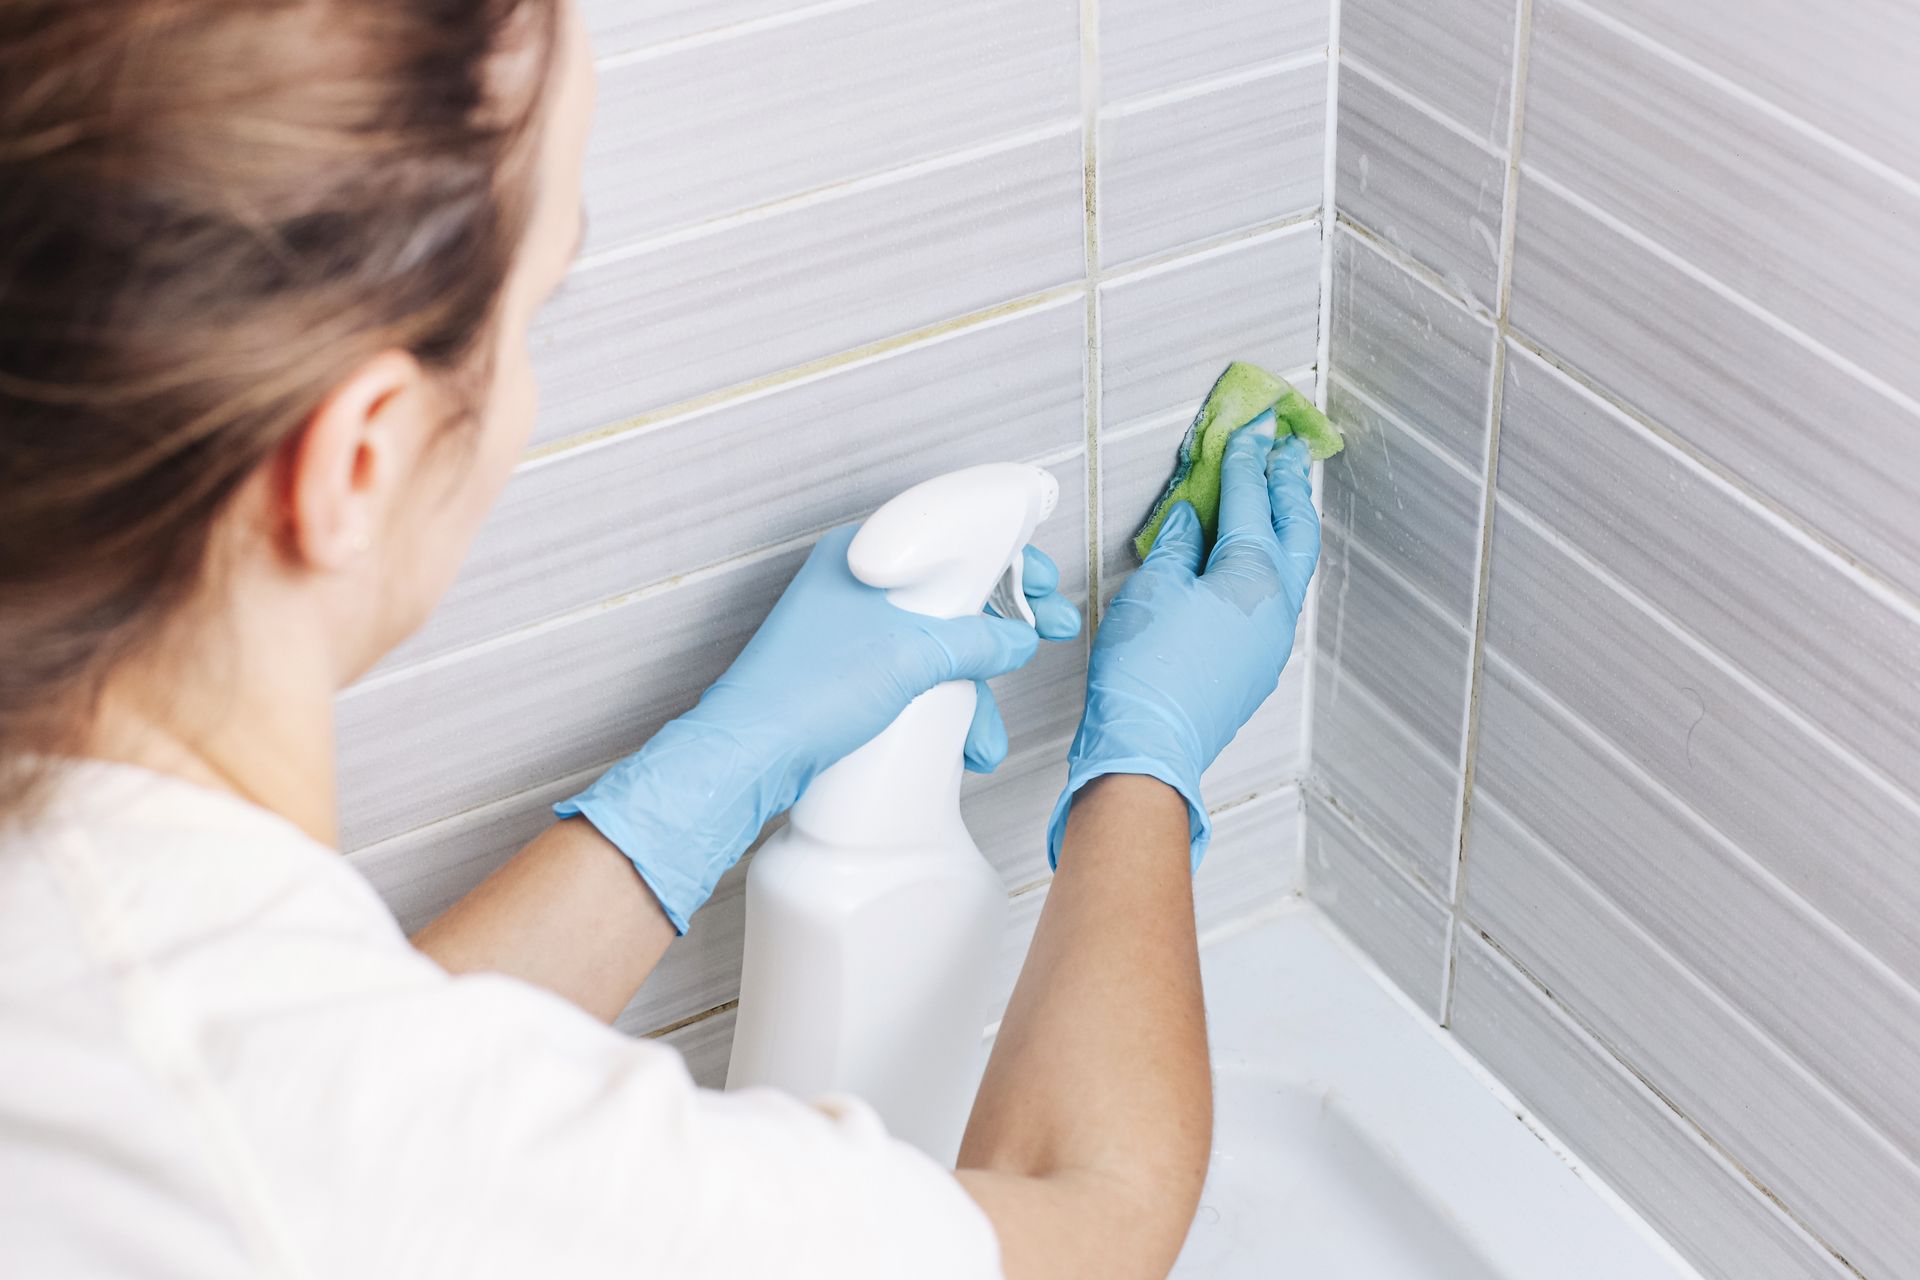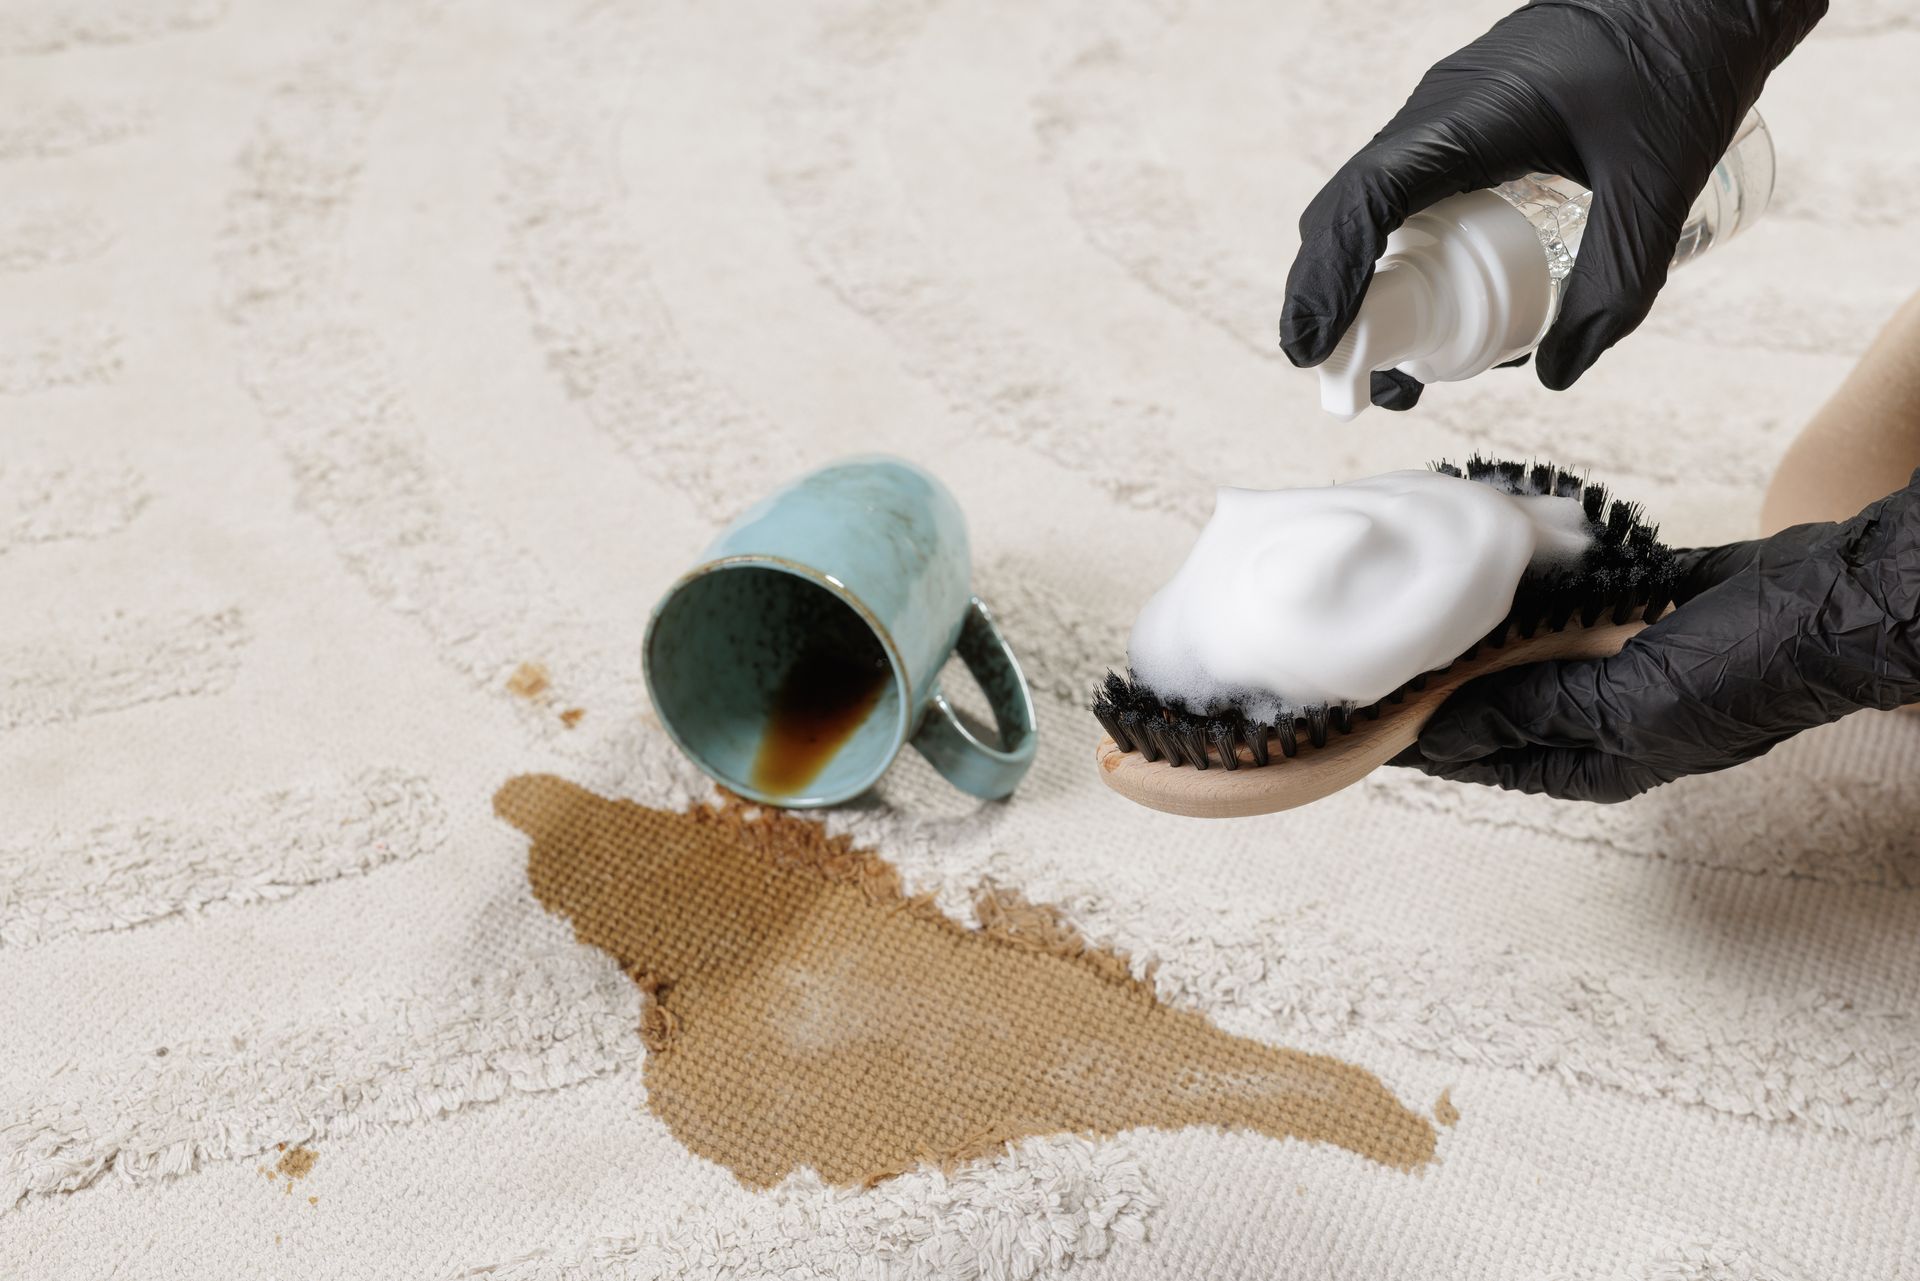
5 Key Tips for Sealing Kitchen Grout Before Thanksgiving Spills
Ideal Carpet & Upholstery Cleaning • September 22, 2026
Hosting a large family gathering means your kitchen floors will take a serious beating from heavy traffic and inevitable cooking spills. The team at Ideal Carpet & Upholstery Cleaning knows that trying to scrub gravy out of porous stone the day after a holiday is a nightmare. Homeowners in Tantalon frequently ask us how to protect their floors right before the busy cooking season starts.
Sealing your grout lines acts as an invisible shield against grease, wine, and acidic food drops. If you wait until after the stains set in, standard mopping will never pull the discoloration out of the cement joints. We have organized the most critical professional insights you need to successfully protect your kitchen floors before the holiday chaos begins.
Guide Contents
- Tip 1: Understand Porosity and Penetrating Sealers
- Tip 2: Do Not Seal Over Existing Grease
- Tip 3: Apply the Right Amount of Product
- Tip 4: Allow Proper Curing Time Before Cooking
- Tip 5: Plan for Heavy Traffic Areas Differently
- Frequently Asked Questions
Tip 1: Understand Porosity and Penetrating Sealers
Grout is a mixture of sand and cement, making it highly porous like a hard sponge. When a liquid hits an unsealed grout line, it absorbs deep into the material rather than sitting on the surface.
- Chemical Barriers: Penetrating sealers soak into the microscopic pores of the cement and harden to block liquids from entering.
- Breathable Protection: A high quality professional sealer allows trapped moisture vapor to escape from beneath the tile without letting liquid water in.
- Visual Changes: Clear sealers protect the floor without altering the original color or leaving a shiny plastic film on the surface.
Tip 2: Do Not Seal Over Existing Grease
The biggest mistake you can make is applying a protective sealant over a floor that is heavily contaminated with cooking oils. The sealer will trap the dirt permanently inside the grout line.
- Deep Extraction: You must have professional tile and grout cleaning performed to flush the alkaline greases out of the cement pores first.
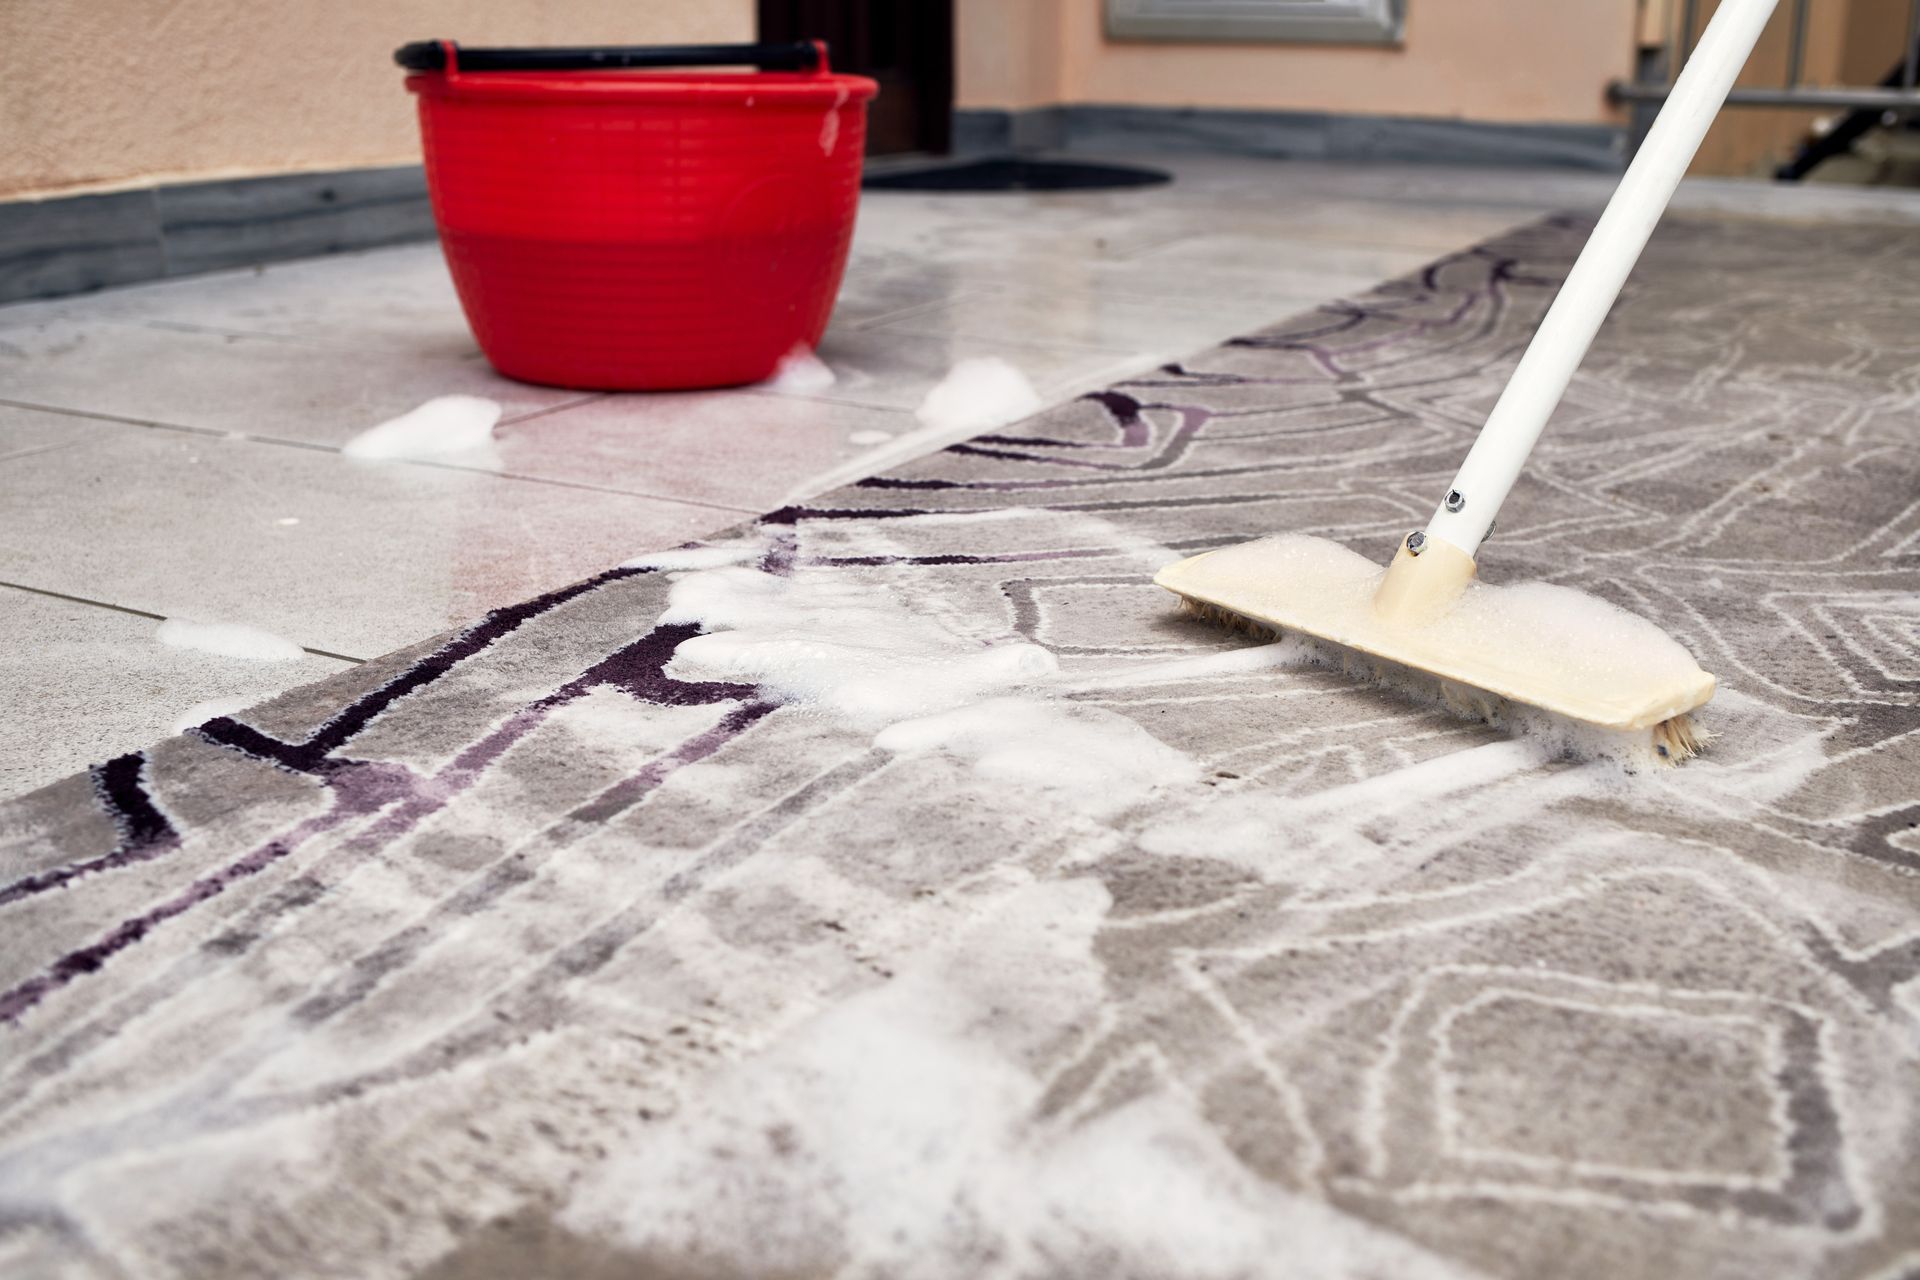
- Hot Water Flushing: Only industrial hot water extraction can pull the sticky cooking residue out of the textured grout surface.
- Complete Drying: The grout lines must be completely bone dry before the liquid sealer is applied or the product will fail to bond.
Tip 3: Apply the Right Amount of Product
More sealer does not equal better protection. Applying too much product creates a sticky mess that attracts fresh dirt the moment someone walks into the kitchen.
- Even Coverage: The liquid must be applied uniformly to the grout joints without pooling heavily in the corners.
- Wipe Away Excess: Any sealer that slops over onto the glazed ceramic tile must be wiped off immediately before it dries into a cloudy haze.
- Multiple Thin Coats: Two thin coats of penetrating sealer provide a much stronger barrier than one thick, messy application.
Tip 4: Allow Proper Curing Time Before Cooking
Sealers require a specific chemical curing period to harden and form a liquid resistant barrier. Rushing back into the kitchen too soon destroys the protective layer.
- Avoid Spills: Keep all water, food, and pet bowls off the freshly sealed floor for at least twenty four hours.
- Light Traffic Only: Limit foot traffic to clean socks for the first day to prevent transferring oils from bare feet or dirty shoes.
- Delay Mopping: Do not wash the floor with any chemical detergents for at least three days after the application.
Tip 5: Plan for Heavy Traffic Areas Differently
The areas immediately in front of the stove and the kitchen sink handle the highest volume of dropped food and pivoting foot traffic. These specific zones require extra attention.
- Frequent Inspections: Check the grout lines near the stove every six months to see if water still beads up on the surface.
- Spot Reapplication: You may need to have the high impact zones touched up with fresh sealer more frequently than the edges of the room.
- Immediate Cleanup: Even with a premium sealer, wiping up acidic spills like tomato sauce or wine immediately is crucial to prevent etching.
Frequently Asked Questions
How long does kitchen grout sealer take to dry?
A professional grade penetrating sealer typically feels dry to the touch within two to four hours depending on the indoor humidity. However, feeling dry is not the same as being cured. The chemical bonds require a full twenty four to forty eight hours to completely cure and provide maximum resistance against liquid spills.
Will sealing grout prevent grease stains?
Sealing creates a strong chemical barrier that stops grease from instantly soaking deep into the porous cement. It gives you a vital window of time to wipe up the spill before it becomes a permanent stain. If hot cooking oil is left sitting on the sealed grout line for several hours, it will eventually break through the barrier and cause discoloration.
Can I seal over dirty grout lines?
No, sealing over dirty grout lines permanently locks the dirt, grease, and bacteria inside the cement. The sealer acts like a clear coat of paint over the grime. You must extract all foreign contaminants from the pores using high pressure steam and specialized alkaline detergents before any protective product is applied.
Prepare Your Kitchen for the Holidays
Locking down your floor surfaces now guarantees a much easier cleanup process after the heavy cooking is finished. A proper seal keeps those stubborn stains sitting on the surface where a simple mop can wipe them away. Do not let holiday spills turn into permanent damage on your kitchen floors. Reach out to our team today to deep clean and seal your grout lines before the seasonal rush begins.
Share This Blog